
Repair & Drying
How to Repair a Water-Damaged Ceiling
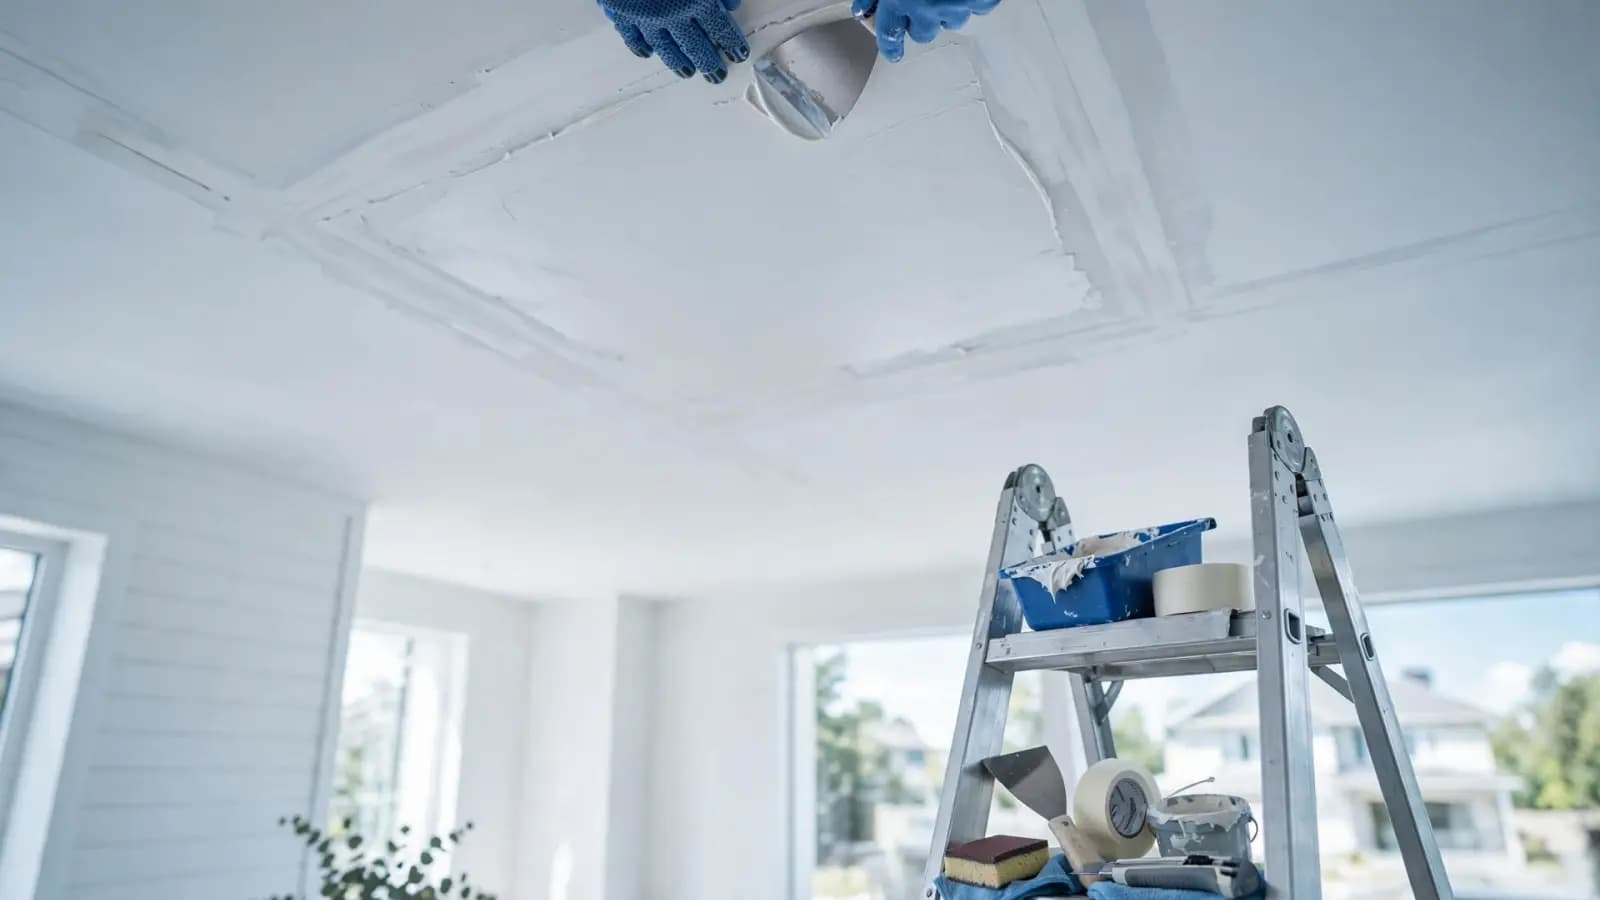
Short answer
Repairing a water-damaged ceiling follows a fixed order: stop the water source, dry the ceiling and the cavity above, decide whether the drywall can stay, cut out and replace anything soft, sagging, moldy or contaminated, then tape, finish, prime with a stain blocker and paint. Skipping the drying step is the most common reason repairs fail.
At a glance
- Condition
- Ceiling drywall stained or damaged by a leak that has been stopped.
- Common causes
- Any leak source; the repair sequence is the same.
- Evidence
- Stains, peeling, bubbling, soft spots or sagging.
- Risk if ignored
- Repairs over wet material crack, stain through or grow mold.
- What to do now
- Confirm the source is fixed and the ceiling is dry before cosmetic work.
- Solution
- Dry, replace compromised drywall, finish, stain-block and paint.
Before you start: is this a DIY job?
| Reasonable DIY | Use a professional |
|---|---|
| Dry, firm stain to seal and repaint | Sagging, bulging or soft ceilings |
| Small patch under about 2 ft square, clean water | Large areas, wet insulation, or several rooms |
| Seam crack re-taping after drying | Contaminated water (toilet, sewer, flood) |
| Spray-primed stain on texture (tested or newer) | Visible mold over about 10 sq ft, or in the cavity |
| Pre-1980s popcorn texture or paint (asbestos or lead testing first) | |
| Water near wiring or light fixtures |
Step 1: Stop and confirm the source
Repairs only last if the water has stopped. Use the leak source finder and get the roof, plumbing or HVAC repaired first. For intermittent leaks such as rain or showers, confirm through at least one test cycle that the ceiling stays dry.
The drying sequence
- STEP 1Stop the source
- STEP 2Remove soaked insulation
- STEP 3Dehumidify + move air
- STEP 4Measure vs. dry reference
- STEP 5Repair only when dry
Step 2: Dry the ceiling and the cavity
Dry the drywall, insulation and framing, not just the surface. Remove soaked insulation, run dehumidification and airflow, and confirm with moisture readings that match a dry reference area. Full method: drying a water-damaged ceiling.
Step 3: Decide repair or replace
Keep drywall that is firm, flat, clean and dry. Replace drywall that is soft, sagging, crumbling, delaminated, moldy or contaminated. The detailed rules are in when to replace ceiling drywall.
Step 4: Cut out damaged drywall
- Turn off power to any fixtures in the area at the breaker.
- Check for wires, pipes and ducts above before cutting; cut shallow with a drywall saw or oscillating tool.
- Mark a square or rectangle that extends past the damage and, ideally, reaches the centers of the joists on two sides so the patch can be screwed to framing.
- Wear eye protection and a dust mask; support the piece as you cut so it does not fall.
- Inspect the framing and remaining insulation; dry or replace as needed.
Step 5: Install the patch
- Patches that land on joists: screw the new piece to the framing, adding wood backing strips where the edges fall between joists.
- Match the thickness of the existing board (commonly 1/2 or 5/8 inch).
- Replace insulation and vapor retarder where required before closing the ceiling.
- Leave a small gap at the edges for joint compound.
Step 6: Tape, finish, prime and paint
- Tape the seams and apply three thin coats of joint compound, feathering each wider than the last.
- Sand lightly between coats; use a work light at a low angle to spot ridges.
- Seal any remaining stained areas of the old ceiling with a stain-blocking primer; see fixing water stains on a ceiling.
- Prime the new drywall and compound so the paint absorbs evenly.
- Re-create texture if the ceiling is textured: ceiling texture repair.
- Paint the whole ceiling plane, corner to corner, so the patch does not show as a different sheen.
Frequently asked questions
Can I fix a water-damaged ceiling myself?
Small, dry, firm areas from clean-water leaks are often reasonable DIY work. Sagging or soft ceilings, contaminated water, mold in the cavity, older textures that might contain asbestos, and water near wiring call for a professional.
How long should I wait to repair a ceiling after a leak?
Until the source is fixed and moisture readings in the damaged area match a dry area of the same ceiling. That may be a few days for a small, exposed area, or longer for a soaked cavity.
Should I patch the ceiling or replace the whole sheet?
Patch when damage is localized and the surrounding board is sound. Replace whole sheets when damage spans several joist bays, the board is sagging over a wide area, or a patch would be nearly as large as the sheet.
Why does the stain come back after painting?
Ordinary paint does not block the water-soluble residue in a water stain. Seal it with a stain-blocking primer first. A stain that returns and grows means the leak is still active.
What is the difference between ceiling repair and ceiling restoration?
Restoration usually refers to the whole process: water extraction, drying, removal of damaged materials and rebuilding. Repair often refers to the drywall and finishing work at the end.
Related guides
- Repair & DryingRepair or replaceDecision rules for keeping or replacing wet drywall, plus an interactive checker.
- Repair & DryingDrying a ceilingDrying timelines, what speeds them up, and how to confirm a ceiling is actually dry.
- ServicesCeiling water damage repairEnd-to-end professional repair: inspection, drying, removal, rebuild and finishing.
- ServicesDrywall ceiling repairPatching or replacing ceiling drywall after drying, and matching finish and texture.
Also referenced in
This guide is general educational information, not a site-specific inspection. Read our editorial policy for how content is researched and reviewed.