
Repair & Drying
Ceiling Texture Repair After Water Damage
Short answer
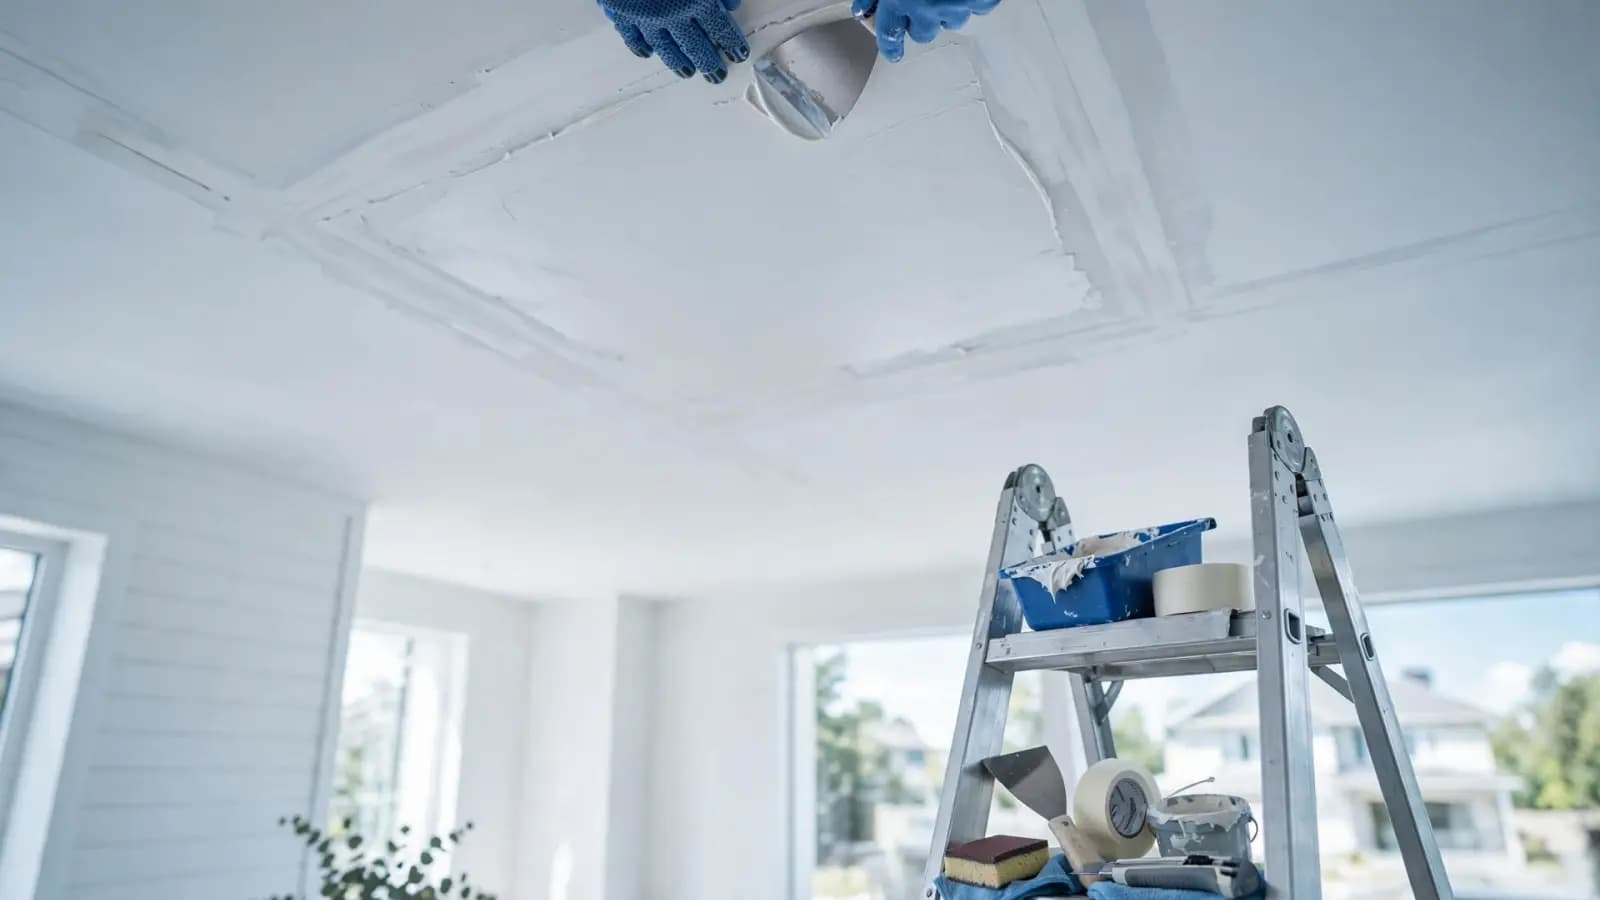
After a water-damaged section is replaced, the patch has to be textured to match the rest of the ceiling, which is often the hardest part of an invisible repair. Identify the texture, practice on scrap board, apply it slightly lighter than the original, prime and paint the whole ceiling. When the match is poor or the patch is large, re-texturing the entire ceiling plane gives the most consistent result.
Identify the texture
| Texture | Looks like | How it is applied |
|---|---|---|
| Orange peel | Fine bumpy surface | Thin compound sprayed in fine droplets |
| Knockdown | Flattened splatter islands | Sprayed splatter, then flattened with a knife |
| Popcorn / acoustic | Cottage-cheese texture | Sprayed aggregate texture |
| Skip trowel | Irregular hand-troweled pattern | Applied by hand with a trowel |
| Smooth | Flat | Skim-coated and sanded |
Matching tips
- Practice on a scrap piece of drywall and compare it to the ceiling at the angle you normally view it.
- Feather the texture into the existing ceiling beyond the patch edge so there is no hard line.
- Err on the side of lighter texture; it is easier to add than remove.
- Aerosol texture cans work for small patches; larger areas need a hopper gun and compressor.
- Prime the patch before texturing if the product requires it, and prime again before painting.
Step by step for a small knockdown patch
- Finish the drywall patch smooth and prime it.
- Thin joint compound to a pancake-batter consistency.
- Spray or flick compound onto the patch with a hopper gun or aerosol, extending past the patch edge.
- Wait until the splatter loses its wet shine, typically several minutes.
- Flatten it lightly with a wide knockdown knife held nearly flat, in one direction.
- Let it dry fully, then prime and paint the entire ceiling plane.
When to re-texture the whole ceiling
If the patch is large, the existing texture has yellowed or has been painted many times, or several patches are needed, re-texturing the whole ceiling plane often looks better than trying to blend. Some owners use a water damage repair as the time to remove popcorn texture entirely (after testing) and go smooth. This is the finishing stage of how to repair a water-damaged ceiling, usually done by a drywall contractor.
Frequently asked questions
Can you match ceiling texture after a repair?
Usually closely, with practice and the right tools. Perfect matches are hard on large patches, which is why many repairs re-texture the whole ceiling plane.
Should I remove popcorn texture after water damage?
Many owners do, since a repair already disturbs it. Test for asbestos first if the texture was applied before the mid-1980s.
Do I need to prime before texturing a patch?
Priming new drywall and joint compound before texture helps the texture bond and dry evenly. Follow the texture product's instructions.
Related guides
- Ceiling TypesTextured & popcornPopcorn, knockdown and orange-peel ceilings after a leak, including the asbestos question.
- Repair & DryingFixing water stainsStain-blocking primers, painting technique, and covering stains on textured ceilings.
- ServicesDrywall ceiling repairPatching or replacing ceiling drywall after drying, and matching finish and texture.
- Ceiling ProblemsCracked ceilingCracks along seams or stains after a leak: water cracks versus structural cracks.
Also referenced in
This guide is general educational information, not a site-specific inspection. Read our editorial policy for how content is researched and reviewed.