
Service guide
Professional Drying for Wet Ceilings
Short answer
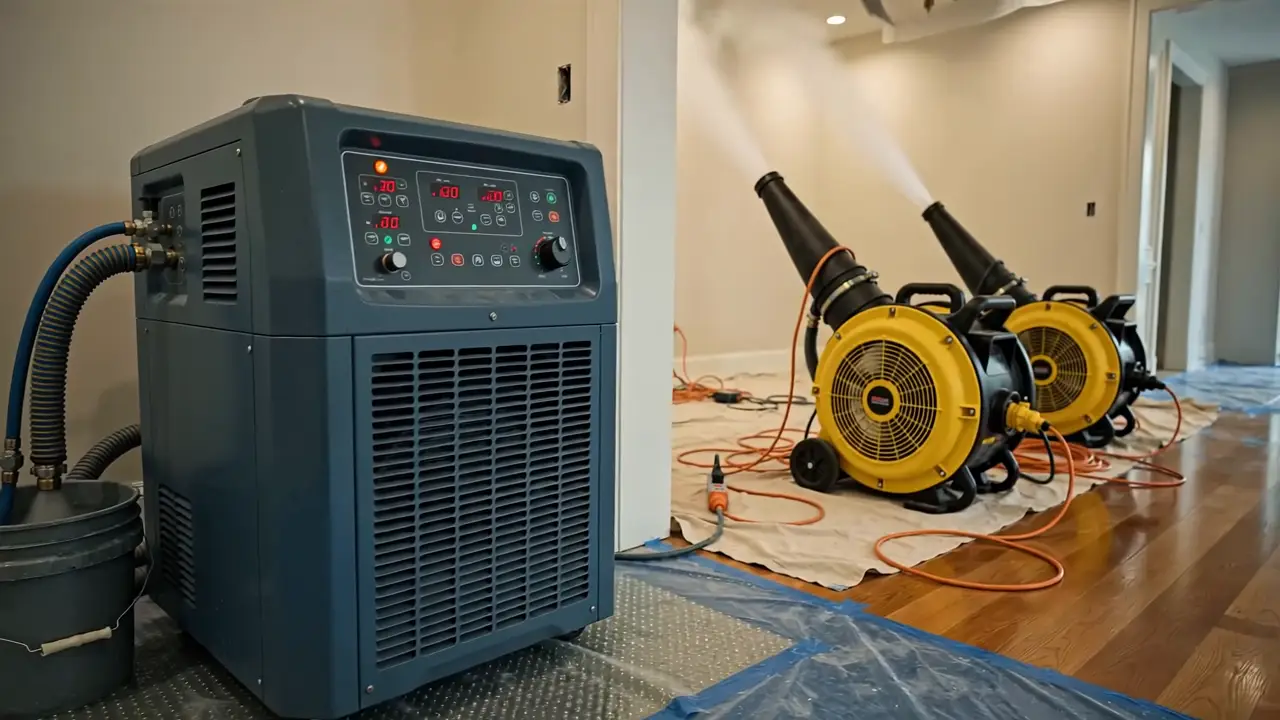
Professional drying uses commercial dehumidifiers, air movers and sometimes cavity-injection systems to dry ceiling drywall, insulation and framing faster than natural evaporation, with daily moisture readings to prove when materials are dry. It is most useful when a large area is wet, water is trapped between floors, or natural drying has stalled.
At a glance
- Condition
- Wet ceilings and cavities that need controlled drying.
- Common causes
- Significant leaks, overflows, and storm intrusion.
- Evidence
- Elevated moisture readings across a wide area, wet insulation, slow drying.
- Risk if ignored
- Mold and material damage if drying is slow or incomplete.
- What to do now
- Stop the source and arrange drying quickly.
- Solution
- Moisture mapping, equipment setup, daily monitoring, and documented completion.
How professional drying works
Drying depends on moving water from materials into the air and removing it from the air. Air movers increase evaporation at surfaces. Dehumidifiers, often low-grain refrigerant (LGR) or desiccant units, pull that moisture out so the air stays dry enough to keep absorbing more. Technicians monitor temperature and relative humidity to keep conditions favorable.
The drying sequence
- STEP 1Stop the source
- STEP 2Remove soaked insulation
- STEP 3Dehumidify + move air
- STEP 4Measure vs. dry reference
- STEP 5Repair only when dry
Drying ceiling cavities
- Removing wet insulation from above, if there is attic access.
- Drilling small holes or removing strips of drywall to move dry air through the cavity.
- Using cavity-injection systems that push air between joists.
- Opening larger sections when drywall must be replaced anyway.
What you should see from a drying contractor
The do-it-yourself version, with its limits, is in drying a water-damaged ceiling. Drying is usually part of ceiling water damage repair.
- An initial moisture map showing affected areas.
- Daily readings at the same points, compared against a dry reference.
- Adjustments to equipment as drying progresses.
- A clear statement of when materials reached dry levels before any rebuild.
Drying versus tear-out
Good drying work reduces how much has to be removed. Firm drywall wetted with clean water can usually be dried in place with the right equipment, which avoids cutting and rebuilding. Saturated, sagging, moldy or contaminated materials come out regardless. A contractor who recommends removing everything without taking readings, or one who promises to save sagging board, should be questioned.
What affects drying time and cost
- Volume of water and area affected.
- Materials: insulation type, plaster versus drywall, multiple layers.
- Access to the cavity.
- Outdoor humidity and indoor temperature.
- Number of equipment units and days on site.
Frequently asked questions
How long does professional drying take for a ceiling?
Commonly three to five days for typical residential water damage, though it varies with materials, access and how much water was involved. Drying ends when readings reach dry reference levels.
Do I need professional drying or can I use fans?
Fans and a home dehumidifier can handle small, exposed areas. Large areas, wet insulation, water between floors, or drying that has stalled usually justify professional equipment.
Can I stay in the house during drying?
Usually, yes. The equipment is noisy and runs continuously, and the affected rooms may be warm. Contaminated water jobs may require keeping people out of the work area.
Related guides
- Repair & DryingDrying a ceilingDrying timelines, what speeds them up, and how to confirm a ceiling is actually dry.
- ServicesCeiling water damage repairEnd-to-end professional repair: inspection, drying, removal, rebuild and finishing.
- Ceiling ProblemsWet ceilingDamp or dark patches without dripping: where the moisture comes from and whether it will dry on its own.
- ServicesWater damage cleanupExtraction, debris removal and contaminated-water cleanup after a ceiling leak.
Also referenced in
This guide is general educational information, not a site-specific inspection. Read our editorial policy for how content is researched and reviewed.
Need help with ceiling water damage?
Call and describe what you see. One call gets you help.