
Guides & Tools
Ceiling Water Damage Checklist
Short answer
In the first hour after a ceiling leak: make the area safe, stop the source and contain the water. In the first day: document the damage, start drying and call the right professionals. In the first week: monitor moisture readings, remove anything that cannot dry, and repair only once readings confirm the ceiling is dry.
First hour: safety and containment
- Keep people and pets out from under sagging, bulging or dripping areas.
- Do not touch wet fixtures or switches; turn off affected circuits at the panel only from a dry location.
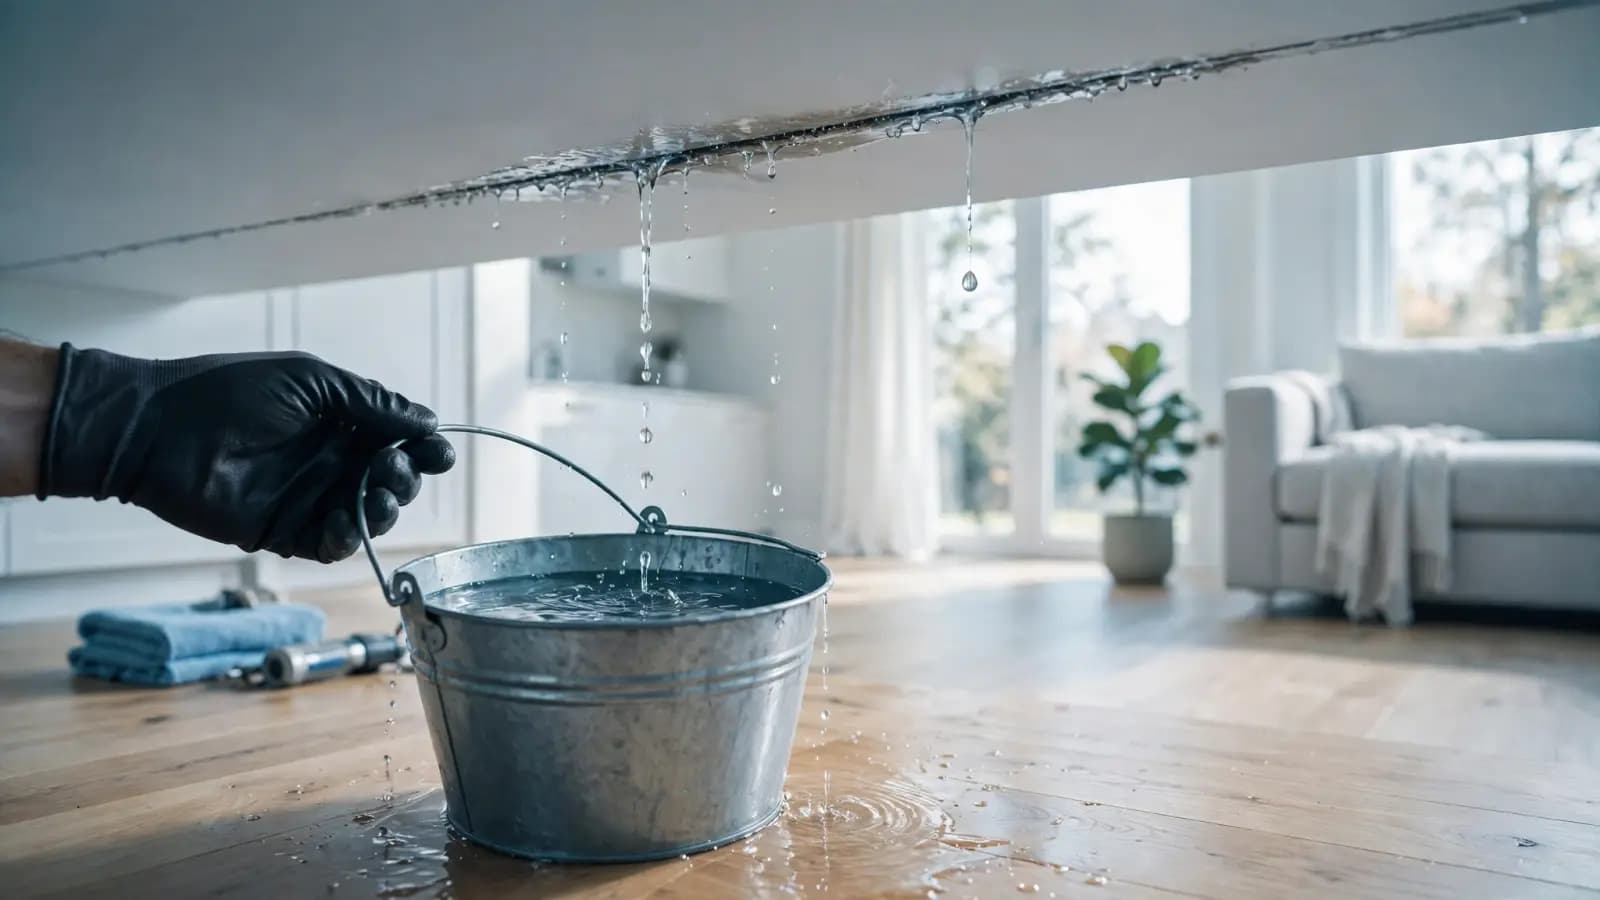
- Shut off the water source (fixture valve or main) or contain roof drips.
- Place buckets and plastic; move furniture and electronics.
- Call emergency services for gas smells, electrical arcing, fire or injuries.
First day: documentation and drying
- Photograph and video the ceiling, the source and affected contents, with dates.
- Note when the leak started and when it was stopped.
- Call the trade that repairs the source, and a restoration company if the area is large, sagging or contaminated.
- Contact your insurer if you plan to file a claim.
- Start drying: dehumidifier in a closed room, airflow across the ceiling, wet insulation removed if accessible.
- Take a baseline moisture reading in the wet area and a dry reference area.
First week: monitoring and decisions
- Take moisture readings at the same points daily.
- Watch for odor, spotting or new sagging.
- Decide what must be replaced using when to replace ceiling drywall.
- Keep receipts for equipment, services and temporary repairs.
- Do not close or repaint the ceiling until readings match the dry reference.
What to keep for your records
- Dated photos and video from the first hour onward.
- A simple log: when the leak started, when it was stopped, daily moisture readings.
- Invoices and reports from the plumber, roofer or HVAC technician that name the cause.
- Restoration drying logs and the scope of what was removed.
- Receipts for fans, dehumidifiers, tarps and any temporary lodging.
Before the ceiling is closed up
For the detailed emergency sequence, see the emergency guide. For repair, see how to repair a water-damaged ceiling.
- Source repaired and tested through at least one cycle.
- Framing and remaining drywall at dry reference readings.
- No mold remaining on framing; contaminated materials removed.
- Wiring and fixtures checked by an electrician if they were wet.
- Insulation replaced where removed.
Frequently asked questions
What should I do right after a ceiling leak?
Make the area safe, stop the water, contain drips, and keep away from wet electrical fixtures. Then document the damage and start drying.
What documentation do I need for a ceiling water damage claim?
Dated photos and video of the damage and source, a timeline of events, receipts for emergency work and equipment, and any professional reports or moisture readings. Your insurer can tell you what else they need.
Can I print this checklist?
Yes. The page prints cleanly from your browser's print command.
Related guides
- EmergencyEmergencyActive leaks, bulging ceilings and water near lights: the safe sequence of steps.
- Guides & ToolsSeverity chartFive levels from cosmetic stain to collapse risk, with the right response for each.
- Guides & ToolsWho to callWhich professional handles each part of the problem, and the order to call them in.
- CausesStorm damageWind-driven rain, fallen trees, hail and hurricanes: ceiling leaks after severe weather.
This guide is general educational information, not a site-specific inspection. Read our editorial policy for how content is researched and reviewed.